SCREENSHOTS

Screenshots thatexplain themselves.

Capture in a keystroke, mark up what matters, and present it so people get it at a glance.

All features

Coming soon for macOS and Windows.

01

Pick exactly what matters.

Press your hotkey, drag over the area, and you're done. Windows and fullscreen work the same way, on every monitor.

  • Area, window or fullscreen
  • Multi-monitor and mixed DPI
  • Quick Access overlay right after
01CAPTURE FEATURES
01.1

Area capture

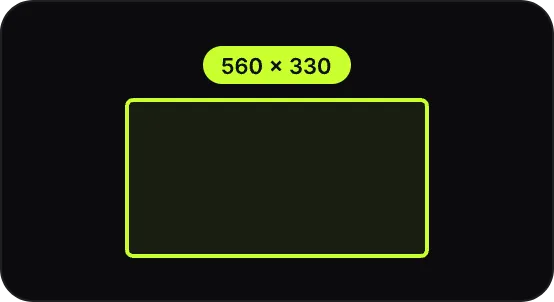
Drag over exactly the part of the screen you need.
Hotkey, then drag. Space moves the selection.
01.2

Window capture

Click a window and get just that window, edges and all.
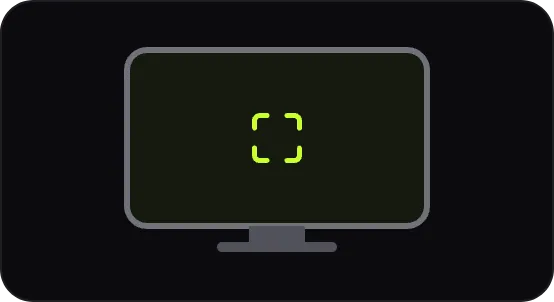
Hover to highlight, click to capture.
01.3

Fullscreen

The whole display under your cursor in one press.
One hotkey, no dragging.
01.4

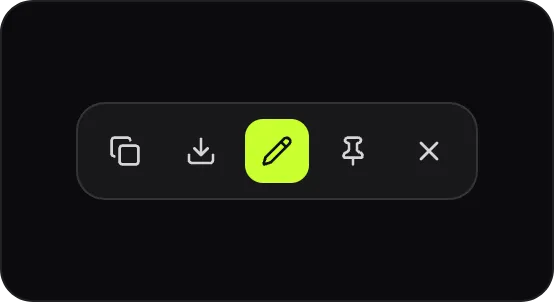
Quick Access

A small overlay right after capture: copy, save, edit or drag out.

Closes by itself after a few seconds.
02

Mark it up. Hide what's private.

Arrows, text and counters make the point. Blur, pixelate or solid redactions keep the rest private.
  • Arrows, shapes, text and counters
  • Highlighter, pencil and spotlight
  • Redactions that destroy the pixels
02ANNOTATE FEATURES
02.1

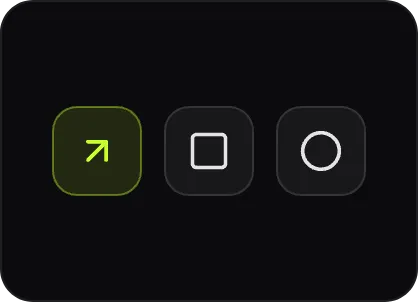
Arrows and shapes

Arrows, lines, rectangles and ellipses to point at things.
Pick a tool, drag on the canvas.
02.2

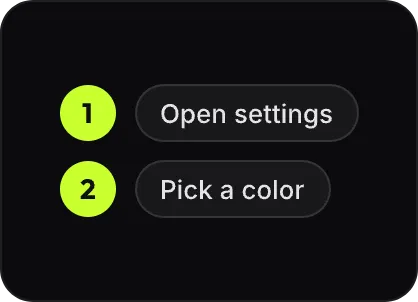
Text and counters

Add labels and number your steps 1, 2, 3.
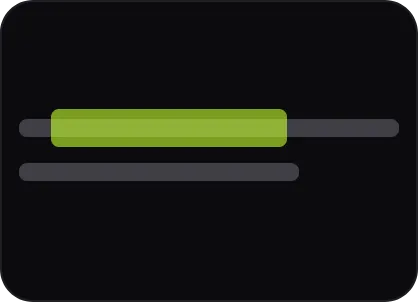
Click to place, counters count up.
02.3

Highlighter and pencil

Mark text like a highlighter or sketch freehand.
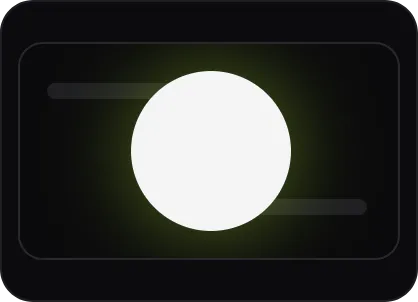
Pick a color, then draw.
02.4

Spotlight

Dim everything except what you want people to see.
Drag a spotlight over the focus.
02.5

Redaction

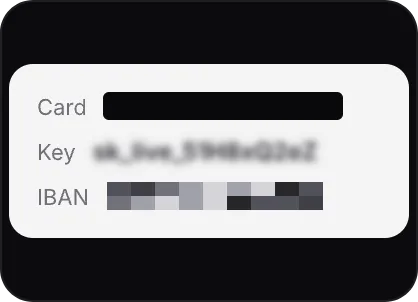
Blur, pixelate or solid. Pixels are destroyed in flat exports.

Drag over private info, choose a style.
03

Make it look finished.

Put your capture on a background, add padding, rounded corners, a window frame and a shadow you control.
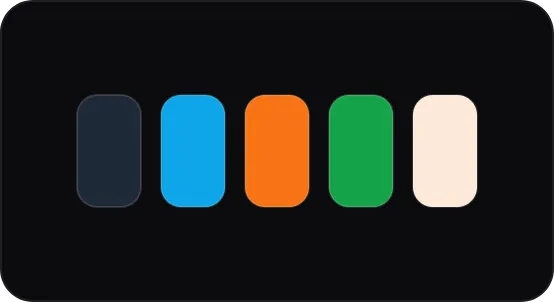
  • Gradients, solid colors or your own image
  • Soft to hard shadows, fully tunable
  • Window frames and aspect ratios
03PRESENT FEATURES
03.1

Backgrounds

Gradients, solid colors or your own image behind the capture.
Pick a swatch in the Presentation tab.
03.2

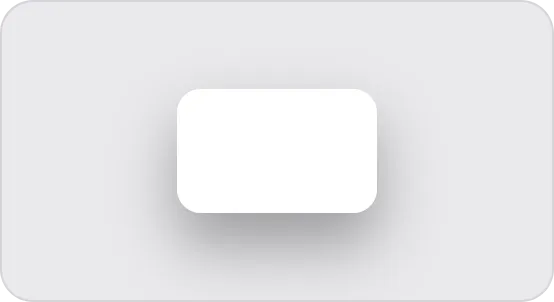
Shadows

Soft, medium or hard, with blur, distance, opacity and color.
Choose a preset or tune the sliders.
03.3

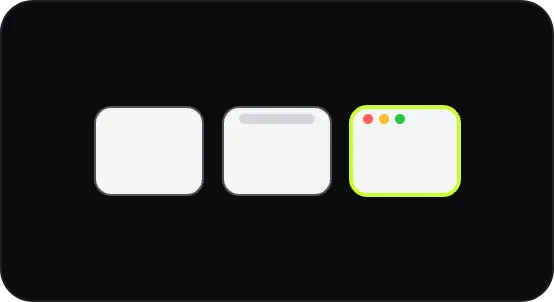
Window frames

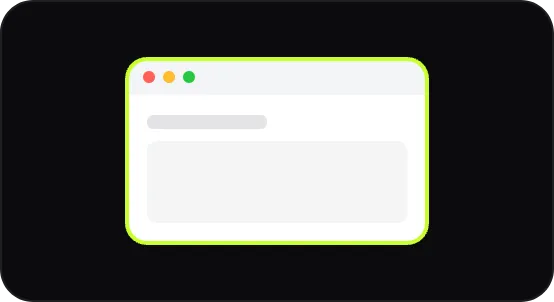
Wrap the capture in a clean window frame.
None, Browser or macOS.
03.4

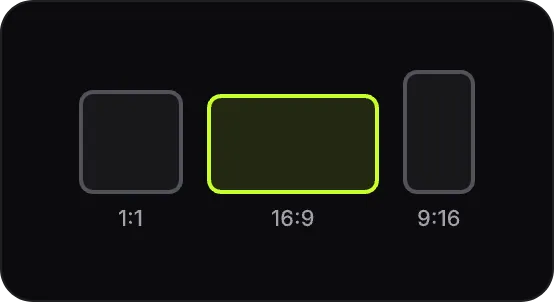
Aspect ratios

Auto, 1:1, 16:9 or 9:16 for any platform.

One click, content stays centered.
04

One file. Edit forever.

Save a capture as a single .lumengrab file with the untouched original inside. Reopen it any time and keep editing.
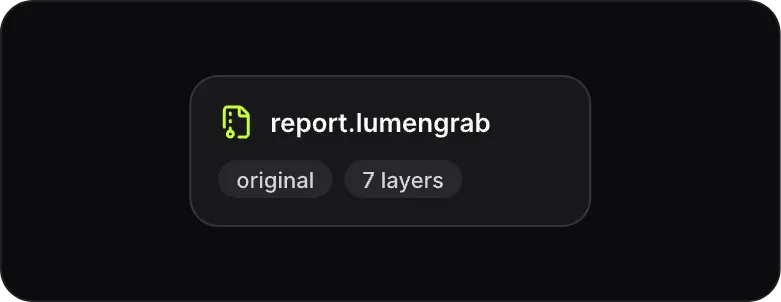
  • Original is never modified
  • Flat PNG, JPG or WebP for sharing
  • Open format, documented in the repo
04KEEP AND SHARE FEATURES
04.1

.lumengrab files

One file with the original inside. Reopen and keep editing.
Save as .lumengrab, double-click to reopen.
04.2

Export formats

PNG, JPG or WebP. Flat export is the default for sharing.
Redactions are baked in on export.
04.3

History

Every capture, searchable, stored only on your device.

Open History from the tray menu.
05

Copy text from pixels.

Grab text or scan a QR code right from a screenshot. Recognition runs on your device, nothing is uploaded.
  • Copy recognized text in one click
  • QR codes open or copy their link
  • Works offline, always local
05TEXT FROM PIXELS FEATURES
05.1

Copy text (OCR)

Recognize text in any screenshot and copy it in one click.

Runs on your device, works offline.
05.2

QR codes

Detect QR codes and open or copy their link.

Shown right next to the recognized text.

Show whatyou mean.

Capture. Annotate. Share. Free forever, private by design.

View the source

Coming soon for macOS and Windows.

01CAPTURE
02ANNOTATE
03PRESENT
04KEEP AND SHARE
05TEXT FROM PIXELS

18 features

Screenshot

LumenGrab screenshot